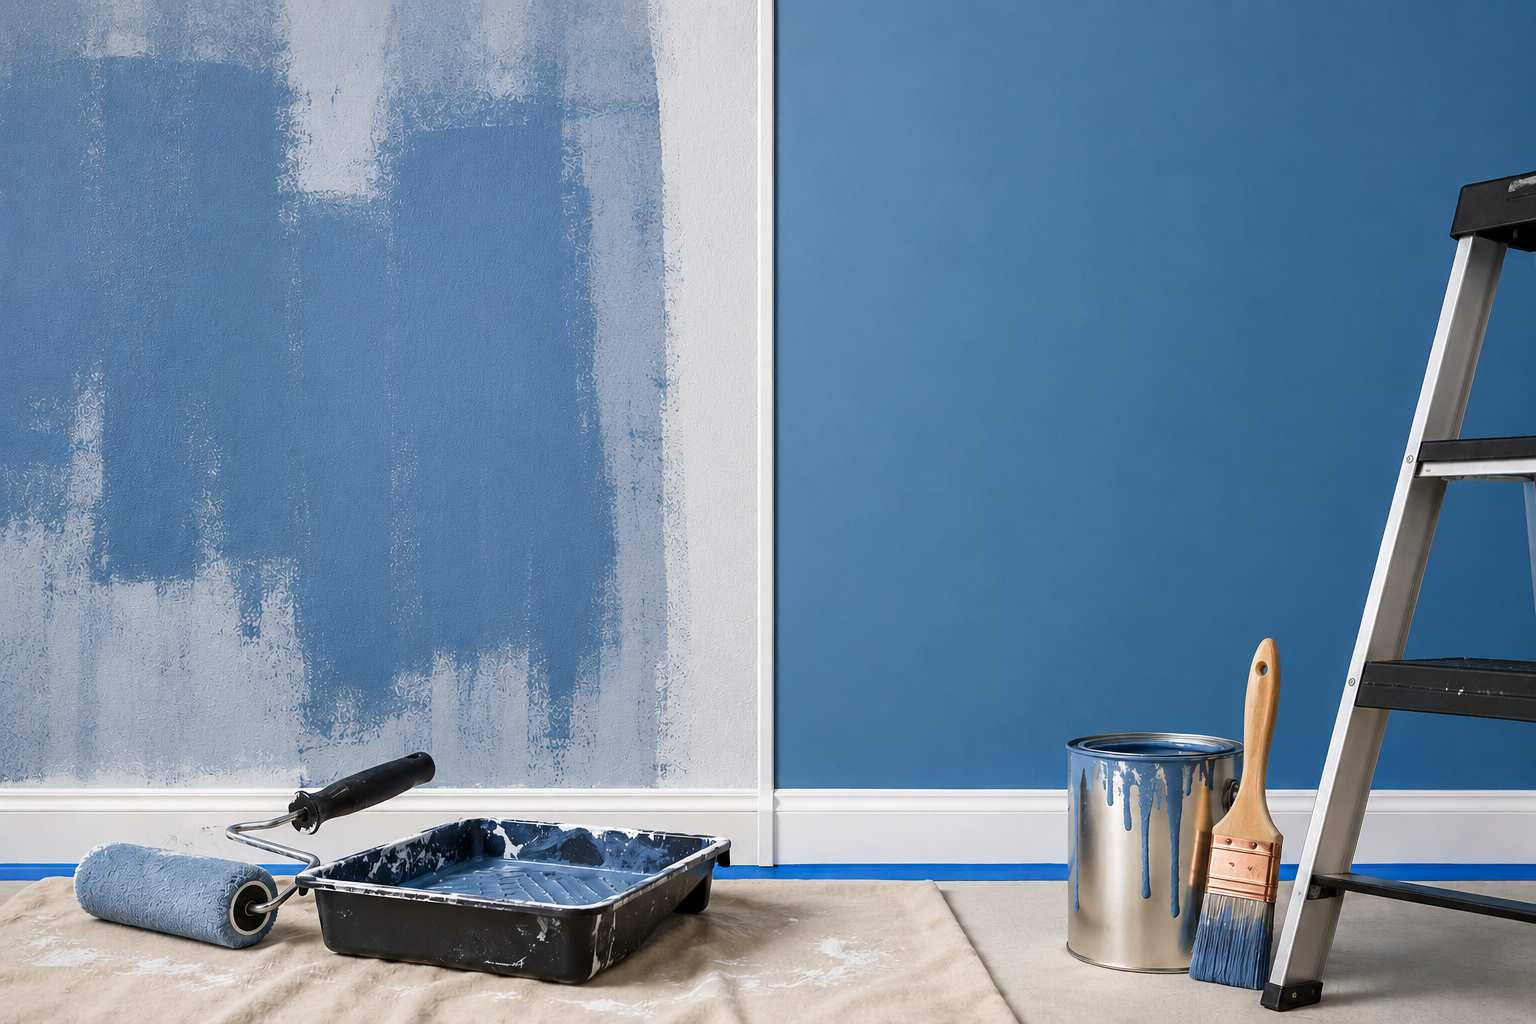
How to Fix Uneven Paint: The Complete Guide to a Smooth, Professional Finish
Uneven paint is one of the most common DIY frustrations. Whether you are dealing with patchy walls, roller streaks, drips, or blotchy coverage, the good news is that almost every uneven paint problem can be fixed without starting from scratch.
This guide walks you through how to fix uneven paint on walls, wood, and ceilings inside and outside your home. You will learn what causes the problem, how to fix it properly, and how to stop it happening again.
Why Does Paint Look Uneven?
Before reaching for your sandpaper or roller, it helps to understand why paint goes uneven in the first place. The cause changes the fix.
- Too little paint on the roller or brush, leaving thin, dry patches
- Too much paint, causing drips, runs, or thick buildup
- Not maintaining a wet edge, so each stroke dries before the next one overlaps it
- Painting over an unprepared or porous surface
- Using low-quality tools, especially cheap rollers with the wrong nap thickness
- Applying only one coat when two or more are needed
- Using the wrong type of paint for the surface, such as water-based over oil-based without a proper primer
- Painting in extreme temperatures or high humidity, which affects how paint dries
Pro Tip: If your paint looks patchy after the first coat, do not panic. One coat is almost never enough for full, even coverage. Let it dry fully, then assess before adding a second coat.
How to Fix Uneven Paint on Walls (Step by Step)
This is the most common scenario. Here is exactly how to fix uneven paint on walls, whether the issue is roller marks, patchy spots, or streaky coverage.
- Let it dry completely. Never try to fix wet paint. Wait at least 4 hours, ideally overnight. Paint looks very different when wet compared to when it dries.
- Sand the problem area. Use 100-grit sandpaper for thick ridges, then 220-grit to smooth. Sand in a circular motion and do not press too hard.
- Wipe away dust. Use a damp cloth or tack cloth. Any dust left behind will show through your new coat.
- Prime if needed. If you sanded back to bare wall or the surface is very porous, apply a thin coat of primer before repainting.
- Repaint in thin coats. Apply paint in thin, even layers. Two thin coats always beat one thick coat. Maintain a wet edge as you go.
- Feather the edges. Blend patch areas into the surrounding wall. Do not stop at the patch line or you will create a visible border.
Watch Out: If your wall surface is genuinely uneven with bumps, ridges, or dips, extra coats of paint will not hide it. You may need to fill and sand the wall itself before repainting.
How to Fix Patchy Paint After the First Coat
Patchy paint after the first coat is almost always normal. Especially with lighter colours or when painting over a dark or porous surface, one coat simply cannot deliver even coverage. The fix is straightforward.
- Let the first coat dry fully. Rushing a second coat over a damp first coat makes Lightly sand the surface with fine-grit sandpaper (220-grit) to smooth any visible texture.
- Wipe off the sanding dust with a slightly damp cloth.
- Apply a second coat using thin, even strokes. Reload your roller or brush frequently to keep consistent coverage.
If the patchiness persists after two coats, the wall surface itself may be uneven or overly porous. In that case, apply a primer before your next coat of paint.
How to Fix Uneven Paint Lines
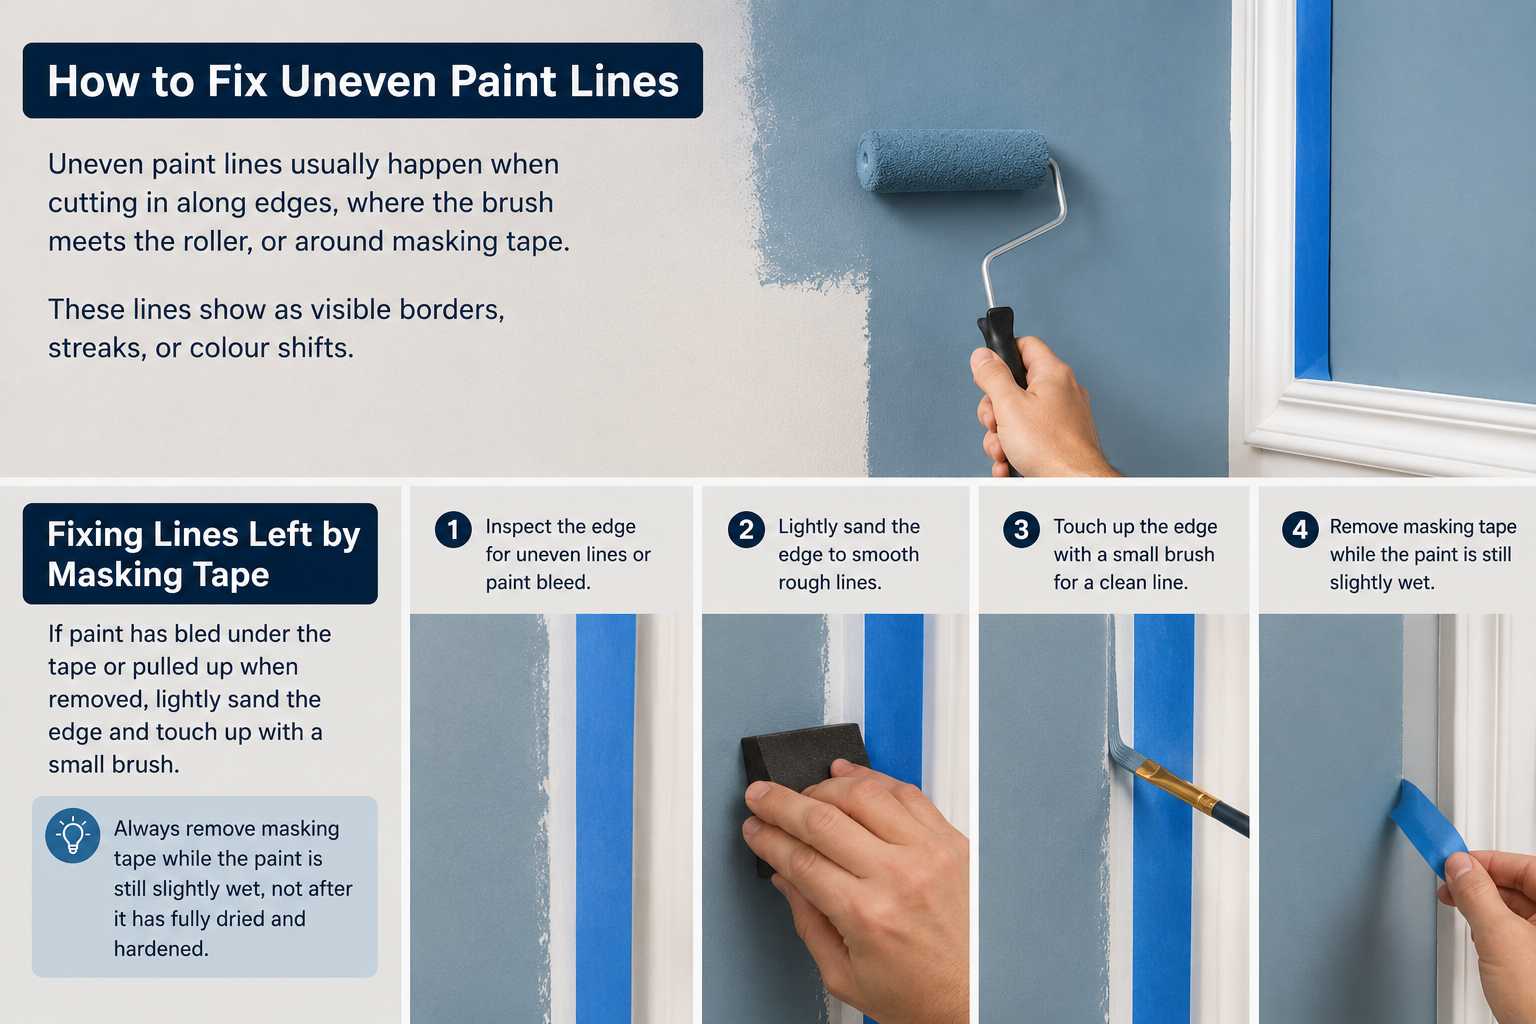
Uneven paint lines usually happen when cutting in along edges, where the brush meets the roller, or around masking tape. These lines show as visible borders, streaks, or colour shifts.
Fixing Lines Left by Masking Tape
If paint has bled under the tape or pulled up when removed, lightly sand the edge and touch up with a small brush. Always remove masking tape while the paint is still slightly wet, not after it has fully dried and hardened.
Fixing Cut-In Lines
The edge where you have cut in with a brush often looks different in sheen or texture compared to the rolled area. The fix is to blend them while both are still wet, rolling close to the cut-in area before it dries. If it is already dry, lightly sand and apply another coat, rolling as close to the edge as possible.
Fixing Roller Lines and Lap Marks
Lap marks happen when you roll over paint that has already started to dry. To fix existing marks, sand lightly once dry, then repaint. To prevent them, always maintain a wet edge by overlapping into the previous stroke before it dries.
How to Fix Lumpy or Rough Paint
Lumpy paint happens when dried bits of old paint, dust, or debris get mixed into fresh paint and dragged across the surface. It can also happen if paint was applied over a dusty or poorly prepared wall.
- Waitfor the paint to dry completely.
- Sand the lumpy areas with 120-grit sandpaper to knock down the bumps.
- Switch to 220-grit to smooth the surface further.
- Wipe off all dust, then repaint.
To prevent this, always stir paint thoroughly, strain old paint through a paint strainer before use, and make sure walls are clean and dust-free before you start.
How to Stop Patchy Paint When Using a Roller
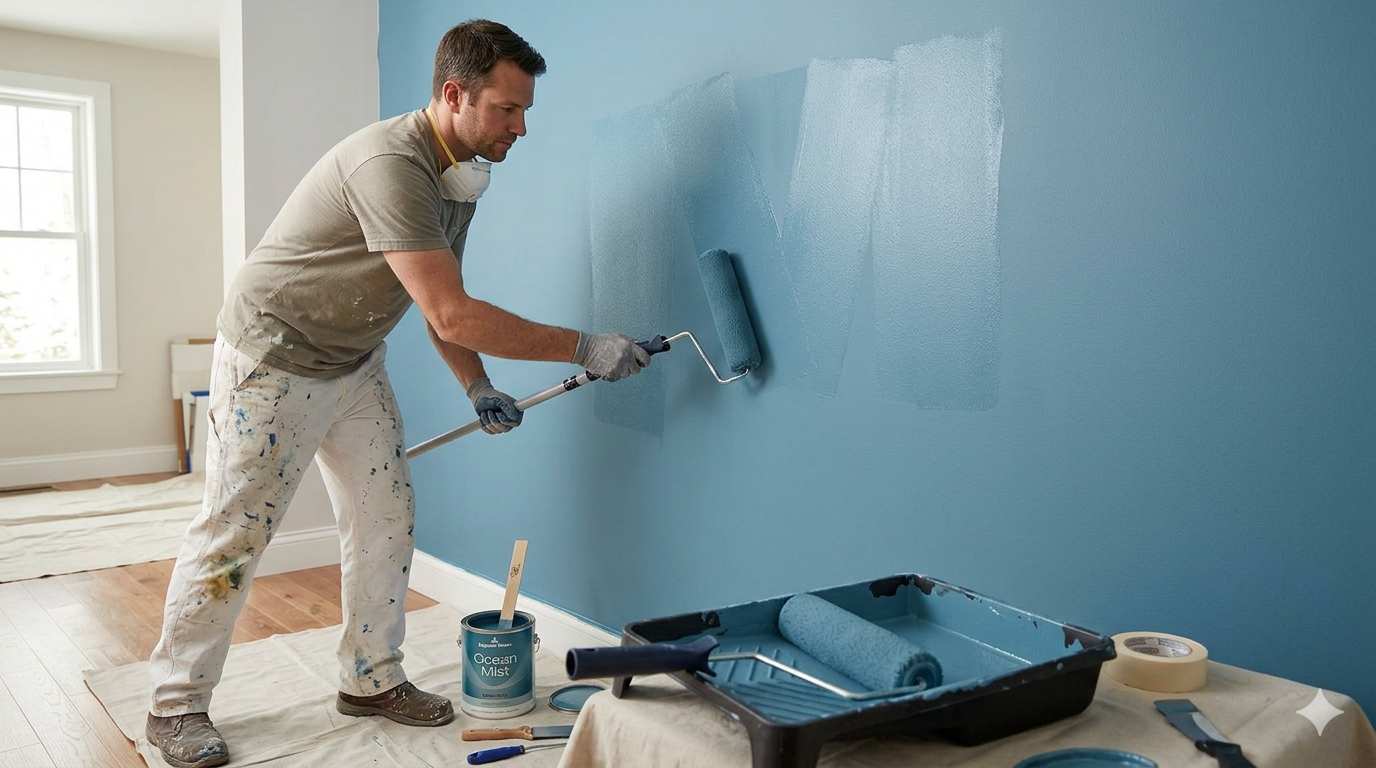
Roller patchiness is usually a technique issue, not a paint quality issue. Here are the habits that make the biggest difference:
- Load your roller properly. Dip it into the paint, roll off the excess in the tray, and reload it more often than you think you need to. A dry roller is the main reason for patchy coverage.
- Maintain a wet edge. Work in sections and do not let one section dry before overlapping the next strip.
- Use the right nap thickness. Smooth walls need a short nap (6-9mm). Textured surfaces need a longer nap (12-18mm).
- Apply paint in a W or M pattern, then fill in without lifting the roller. This distributes paint evenly.
- Do not apply too much pressure. Let the paint do the work.
How to Fix Uneven Paint on a Ceiling
Ceiling paint problems are harder to spot until the light hits them at the wrong angle. The approach is similar to walls, but the physical difficulty is higher. For a smoother finish and better coverage, following the correct ceiling painting process is essential, especially when working with overhead surfaces.
Sand lightly with a pole sander and fine-grit sandpaper. Wipe away dust, then apply a fresh coat of ceiling paint using a roller with an extension pole. Work in manageable sections and keep the roller loaded consistently. Ceiling paint is usually thicker than wall paint, which helps hide minor imperfections. If you are unsure about the best technique, this guide on how to paint a ceiling properly explains the process in more detail.
How to Fix Uneven Interior Paint
Interior paint problems are usually noticed once the room is fully lit. Common issues include sheen differences, patchy colour, and visible roller lines along feature walls. Many homeowners dealing with these issues often turn to professional interior painting services Melbourne residents trust for a smoother, more even finish.
The key rule for interior walls is to repaint the full wall panel rather than spot-fixing. Touch-ups on interior walls, especially gloss or satin finishes, almost always show a visible difference in sheen. Rolling the entire wall in one session gives a much more consistent result and helps achieve the professional look that experienced interior painting services Melbourne painters aim for.
It is also important to keep the room temperature between 10 and 30 degrees Celsius when painting. If the room is too cold, paint dries slowly and unevenly. If it is too hot, the paint dries too fast and the wet edge cannot be maintained, leading to lap marks and inconsistent coverage. Proper preparation and application techniques are essential for achieving the smooth, even appearance expected from quality interior painting services Melbourne homeowners rely on.
How to Fix Uneven Exterior Paint
Exterior paint faces tougher conditions. Wind, sun, and temperature changes all affect how it dries and adheres. Uneven exterior paint is often caused by painting in direct sunlight, on a windy day, or over a surface that was not properly cleaned and primed.
Fixing Uneven Exterior Walls Paint
- Clean the wall surface with a hose or pressure washer and let it dry fully.
- Sand or scrape any flaking, peeling, or rough areas.
- Apply an exterior primer to bare or patched areas.
- Repaint on a dry, overcast day with no wind. Avoid painting in direct sunlight or temperatures above 35 degrees Celsius.
- Apply two coats for full, even exterior coverage.
Fixing Uneven Render Before Painting
If the render itself is uneven, no amount of paint will hide it. Fill low spots with exterior filler and sand high points before priming. For severely uneven render, a texture coat or sand finish can level the surface before the top coat is applied.
How to Fix Uneven Gloss or Sheen
Sometimes the colour looks fine but the sheen is patchy. Some areas look shinier or more matte than others. This is usually caused by uneven application, varying surface porosity, or touching up with a different sheen level of paint.
- If the surface is porous, prime it first. Unprimed porous surfaces absorb paint unevenly, creating a patchy sheen.
- Apply a fresh coat of the correct sheen paint in an even, consistent technique across the whole surface.
- Avoid spot-touching a gloss or semi-gloss finish. The sheen difference between touched and untouched areas is almost always visible. Repaint the full wall or panel for a uniform result.
Quick Reference: Fix by Problem Type
- Patchy walls: sand, prime porous areas, apply two thin coats
- Roller marks: sand lightly, reload roller more often, maintain a wet edge
- Uneven paint lines: feather edges, repaint in sections, remove tape before paint fully cures
- Lumpy paint: sand bumps flat, wipe dust, repaint cleanly
- Uneven sheen: prime the surface, repaint the full wall with consistent technique
- Uneven paint on wood: sand with grain, prime, use foam roller for flat surfaces
- Uneven exterior paint: clean surface, prime bare areas, repaint on a calm overcast day
- Uneven ceiling paint: pole-sand lightly, reload roller consistently, work in manageable sections
The most important rule in all of this: preparation matters more than the paint itself. A properly cleaned, filled, and primed surface gives you the best shot at even, lasting results regardless of which paint you choose. Poor preparation is also a leading reason why paint peels even after professional painting, so it pays to get this stage right the first time.
Frequently Asked Questions
Find answers to our professional painting service. Learn about our process, pricing, and project details below.
Paint often looks patchy or streaky when wet but evens out as it dries. If it still looks uneven once fully dry, it usually means the surface needed priming, the coat was applied too thin, or the roller ran dry during application.
For minor patchiness, yes. Applying another thin, even coat is often enough. But for noticeable texture, ridges, drips, or thick buildup, sanding first gives a much better result. Paint over an uneven surface just adds another uneven layer.
Two coats is the standard for most surfaces. Darker colours, highly porous surfaces, or major colour changes may need three. One coat is rarely enough for truly even results.
Raking light (light hitting a wall at a low, side angle) reveals texture that flat-on lighting hides. This is why walls that look fine under regular light show roller marks in sunlight. Sanding between coats and applying consistent pressure with the roller reduces this significantly.
Fill any holes, cracks, or dents with a filler or patching compound. Sand smooth once dry, then prime the patched areas before painting. If the entire wall is rough or uneven, a skim coat or textured primer can level the surface.
Sand with 220-grit sandpaper, wipe clean, and repaint with a foam roller or quality brush. For cabinets, removing the doors and painting them flat (horizontal) gives the most even finish and reduces drips.

Marcus Langley
Lead Color Consultant & Senior Painter
Marcus Langley is a certified painter and color consultant with 14 years of experience transforming homes and businesses across Melbourne. He specializes in interior work, exterior coatings, and decorative finishes, and loves helping homeowners find the perfect color for every space.