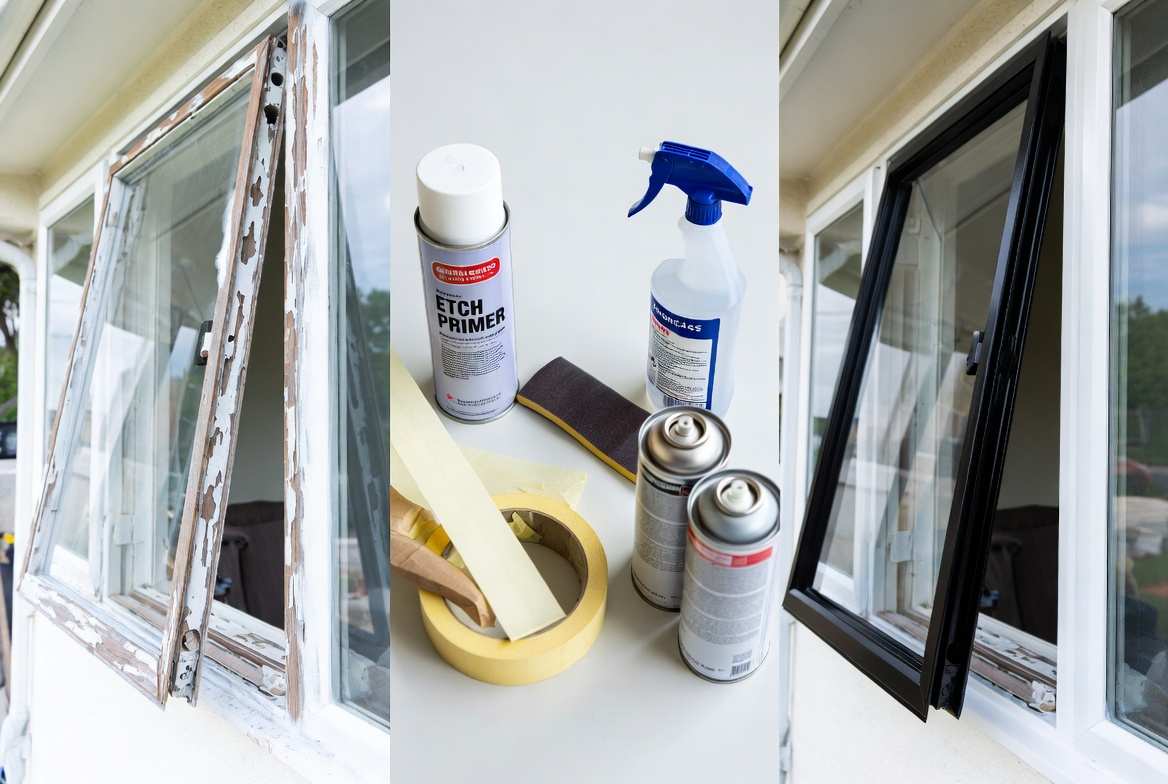
How to Paint Aluminium Window Frames: A Complete Step-by-Step Guide
Aluminium window frames are built to last, but the finish on them is not. Over time, the coating fades, oxidises, or chips, and what was once a clean, sharp-looking frame starts to look tired and dull. The good news is that painting aluminium window frames is a very doable DIY project. You do not need to replace the frames. You just need the right prep, the right primer, and the right paint.
This guide covers everything: how aluminium behaves as a surface, what products to use, how to prepare the frames properly, how to apply paint for a lasting finish, and the mistakes most people make that cause the paint to peel.
Can You Paint Aluminium Window Frames?
Yes, you can. Aluminium window frames can be painted successfully both inside and outside. The finish can last many years when the prep work is done correctly. The challenge with aluminium is that it is a non-porous, non-ferrous metal with a naturally smooth surface. Paint has very little to grip onto unless you create that grip through cleaning, sanding, and priming something often best handled by experienced painting contractors in Melbourne.
There is also another challenge specific to aluminium: oxidation. Even freshly sanded aluminium begins to form a thin oxide layer almost immediately when exposed to air. This layer is what causes adhesion to fail if you wait too long between sanding and priming. Once you sand the surface, you need to apply primer promptly to capture a clean, prepared surface before oxidation takes hold again.
Get these fundamentals right and painted aluminium frames can look excellent and hold up well against weather, UV exposure, and daily use for years.
What You Will Need
- Degreaser or sugar soap
- 150 to 220-grit sandpaper or sanding pad
- Tack cloth or clean rag with isopropyl alcohol
- Self-etching primer or metal-specific bonding primer
- Exterior acrylic or epoxy paint suitable for metal
- Short-pile or foam roller (or spray can / sprayer)
- Small paintbrush for edges and detail work
- Painters tape (professional grade)
- Kraft paper or plastic sheeting to cover glass
- Clear topcoat or sealant (optional but recommended)
- Nitrile gloves and safety goggles if using spray
Choosing the Right Paint for Aluminium Window Frames
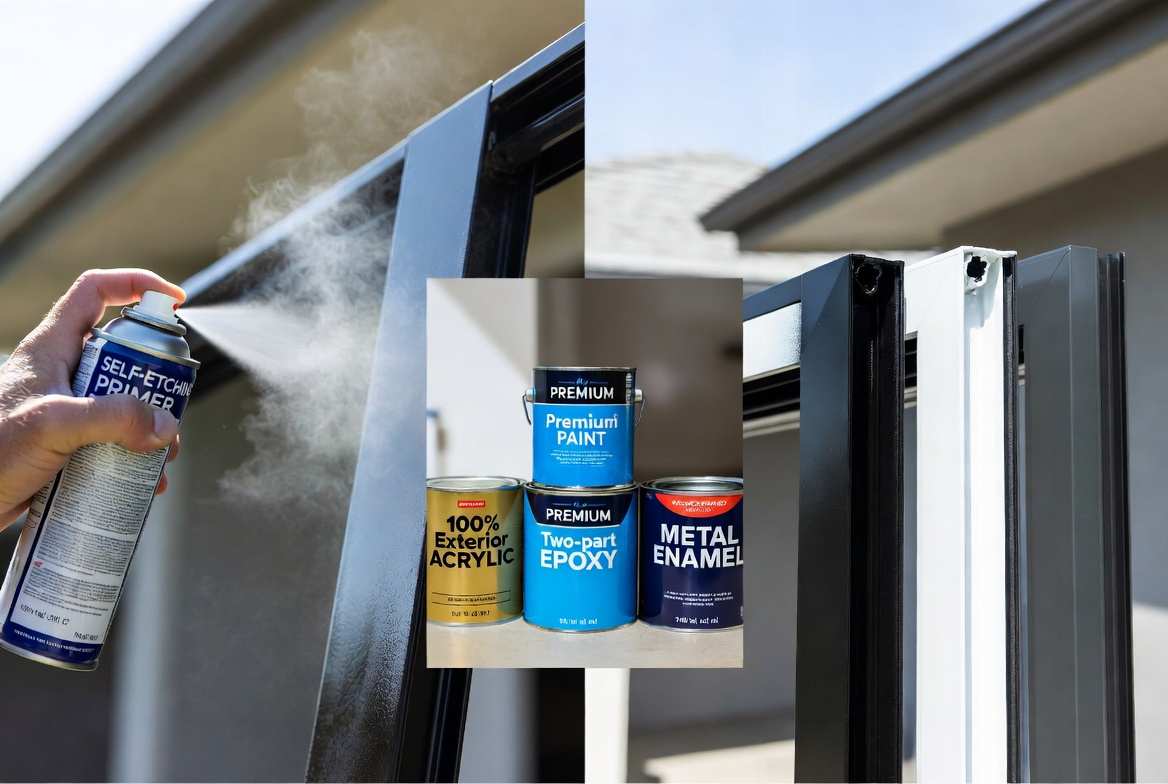
Not all paints work on aluminium. Using the wrong product is the most common reason painted window frames fail within months. Here is what to use and what to avoid.
Self-Etching Primer
This is not optional. A self-etching primer is specially formulated to chemically bond to bare metal surfaces. It contains mild acid components that dissolve the oxide layer on aluminium and create a physical bond between the metal and the paint. Standard primers do not do this. Using a regular primer on aluminium will give you a paint job that peels.
Apply the self-etching primer soon after sanding. Because aluminium re-oxidises quickly once exposed to air, the gap between prep and priming should be as short as possible. Ideally within 30 to 60 minutes.
Exterior Acrylic Paint
Once the primer is cured, 100% acrylic exterior paint is the most practical top coat for aluminium window frames. It is flexible enough to move with the metal as it expands and contracts through temperature changes, it dries quickly, cleans up with water, and holds colour well when a UV-resistant formula is used. This is also the same type of system often used in professional exterior painting services. This is the standard recommendation for most DIY painting of aluminium frames.
Epoxy Paint
Epoxy gives a harder, more durable finish than acrylic and bonds very firmly. It is a stronger choice for frames in harsh conditions, such as coastal environments with salt air, or frames that take a lot of direct sunlight. Two-part epoxy requires mixing before use and has a shorter working time, but the result is a tougher surface that resists moisture, UV damage, and impact better than acrylic.
Enamel Paint
Enamel dries to a hard, glossy finish and is a good option if you want a high-sheen result. It is more scratch-resistant than standard acrylic but less flexible, which can lead to cracking on metal surfaces that see significant temperature swings. If you go with enamel, make sure it is formulated for metal.
What Not to Use
- Standard interior or exterior wall paint: no adhesion on metal
- Standard wall primer: does not bond to aluminium
- Oil-based paint without compatible primer: adhesion problems and long cure times
- Chalk paint without a strong sealant: not weather-resistant
How to Paint Aluminium Window Frames: Step by Step
Step 1: Clean the Frames Thoroughly
Paint will not stick to dirty aluminium. Before anything else, clean the frames with a degreaser or sugar soap solution to remove all dirt, grease, oil, pollution residue, and any chalky oxidation buildup. Use a soft brush or cloth and scrub into all the corners and edges of the frame profile. If you notice a white chalky residue on the frames, that is surface oxidation. A solution of equal parts white vinegar and water works well to break this down before the main cleaning step.
Rinse the frames with clean water and let them dry completely. Any moisture left on the surface will interfere with primer adhesion.
Step 2: Remove Old Paint or Flaking Coating
If the frames have old paint that is flaking, blistering, or peeling, you need to remove it before repainting. Use a wire brush or coarse sandpaper to take off the loose material, then progress to finer sandpaper to smooth the transition between bare metal and any paint that is still holding firmly. Do not paint over flaking paint. It will simply pull the new paint off with it.
Step 3: Sand the Surface
Sanding is what gives the primer something to grip. Use 150 to 220-grit sandpaper or a fine sanding pad to scuff the entire frame surface. You are not trying to strip the metal down. You are creating microscopic scratches, what painters call a tooth, that the primer can lock into.
Do not use sandpaper coarser than 120-grit. Deep scratches from coarse paper will telegraph through the primer and top coat, showing in the final finish. Work evenly across the whole frame surface, including edges and corners.
After sanding, wipe away all dust with a tack cloth or a rag dampened with isopropyl alcohol. This step is important. Sanding dust sitting on the surface when you prime will be sealed in permanently and will create a rough, uneven finish.
Step 4: Mask Off the Glass and Surrounding Surfaces
Masking is worth doing slowly and carefully. Run painters tape along the inside edge of the frame where it meets the glass, pressing it down firmly so no paint can bleed underneath.
Then cover the glass itself with kraft paper or plastic sheeting secured with tape. Also mask the wall or reveal around the outside of the frame.
One important note: leave a very small overlap of tape onto the glass, about 1 to 2mm. When you remove the tape after painting, this overlap creates a watertight seal at the frame edge, which is important for keeping moisture out.
Step 5: Apply Self-Etching Primer
Apply the self-etching primer as soon as possible after sanding, ideally within 30 to 60 minutes. Apply a thin, even coat using a brush, foam roller, or spray can. Start at the top of the frame and work down. Use up-and-down strokes for even coverage and make sure every part of the frame is covered, including the narrow profile edges.
Allow the primer to dry fully according to the manufacturers instructions. This is usually 3 to 6 hours. Do not rush this step. Painting over wet or undercured primer is a common cause of poor adhesion and peeling. Once the primer is dry, lightly sand with 220-grit sandpaper to knock off any small bumps or texture, then wipe clean again before applying the top coat.
Step 6: Apply the First Coat of Paint
Apply the first coat of paint in thin, even layers. A short-pile foam roller gives the smoothest finish on the flat sections of the frame. Use a small brush for the narrower profile sections and any corners the roller cannot reach. Work in one direction and avoid going back over paint that has started to dry, as this lifts the surface and creates visible marks.
Do not apply a thick coat to save time. Thick coats take longer to dry, are more prone to runs and drips, and produce a softer finish than multiple thin coats. Thin coats dry harder and look better.
Step 7: Apply the Second Coat
Allow the first coat to dry completely before applying the second. This is usually around 4 to 6 hours, but follow the manufacturers guidelines for your specific product. Two coats are the minimum for aluminium frames. Three coats give better coverage and depth, particularly when painting a lighter colour over dark frames.
Between coats, check for any runs, drips, or rough spots. Lightly sand these areas with fine sandpaper and wipe clean before the next coat. This is called sanding between coats and it produces a significantly smoother final finish.
Step 8: Apply a Clear Topcoat (Recommended)
For exterior frames, a clear protective topcoat or sealant applied over the final paint coat adds a layer of protection against UV fading, moisture, and physical wear. This is particularly worth doing on south-facing frames that get a lot of direct sun, and on frames in coastal areas where salt air accelerates paint breakdown. Choose a topcoat that is compatible with your paint type and rated for outdoor use.
Step 9: Remove Tape and Clean Up
Remove the painters tape while the paint is still slightly soft rather than fully hardened. Pulling tape off fully cured paint can lift the edge of the paint film. Pull the tape back at a 45-degree angle, slowly and steadily. If any paint has bled onto the glass, let it dry fully and then remove it carefully with a razor blade held flat against the glass surface. Slide the blade along the frame edge and the paint will lift cleanly.
Painting Interior vs Exterior Aluminium Window Frames
Interior Frames
Interior aluminium frames are exposed to far less stress than exterior ones. They do not face rain, UV radiation, or temperature extremes. That said, the same prep process applies: clean, sand, prime with a self-etching primer, then paint. For interior frames, you can use a satin or gloss acrylic paint rather than a heavy-duty exterior formula. The finish tends to last longer inside because there are fewer environmental forces working against it.
Exterior Frames
Exterior aluminium frames need exterior-grade products throughout. The primer must be rated for outdoor use. The paint must be a quality exterior acrylic or epoxy formula with UV resistance. Cheap exterior paints fade and chalk quickly on metal surfaces exposed to sunlight. If the frames face the weather directly, a clear topcoat over the finished paint is a worthwhile extra step.
Also consider the colour you choose. Dark colours absorb more heat from sunlight, which causes aluminium to expand and contract more significantly through the day. This extra movement puts more stress on the paint film. Lighter colours are generally more forgiving on exterior metal surfaces for this reason.
How Long Does Paint Last on Aluminium Window Frames?
With proper preparation and quality products, painted aluminium window frames can last 8 to 10 years before needing a full repaint. Interior frames at the longer end of that range. Exterior frames facing harsh conditions at the shorter end.
What shortens the lifespan of the paint:
- Poor surface preparation, especially skipping the self-etching primer
- Using the wrong paint type
- Thick coats that do not cure properly
- Painting in bad weather conditions, too cold, too hot, too humid, or too windy
- Coastal or industrial environments with aggressive airborne chemicals
- Dark colours on south-facing exterior frames
Common Mistakes When Painting Aluminium Window Frames
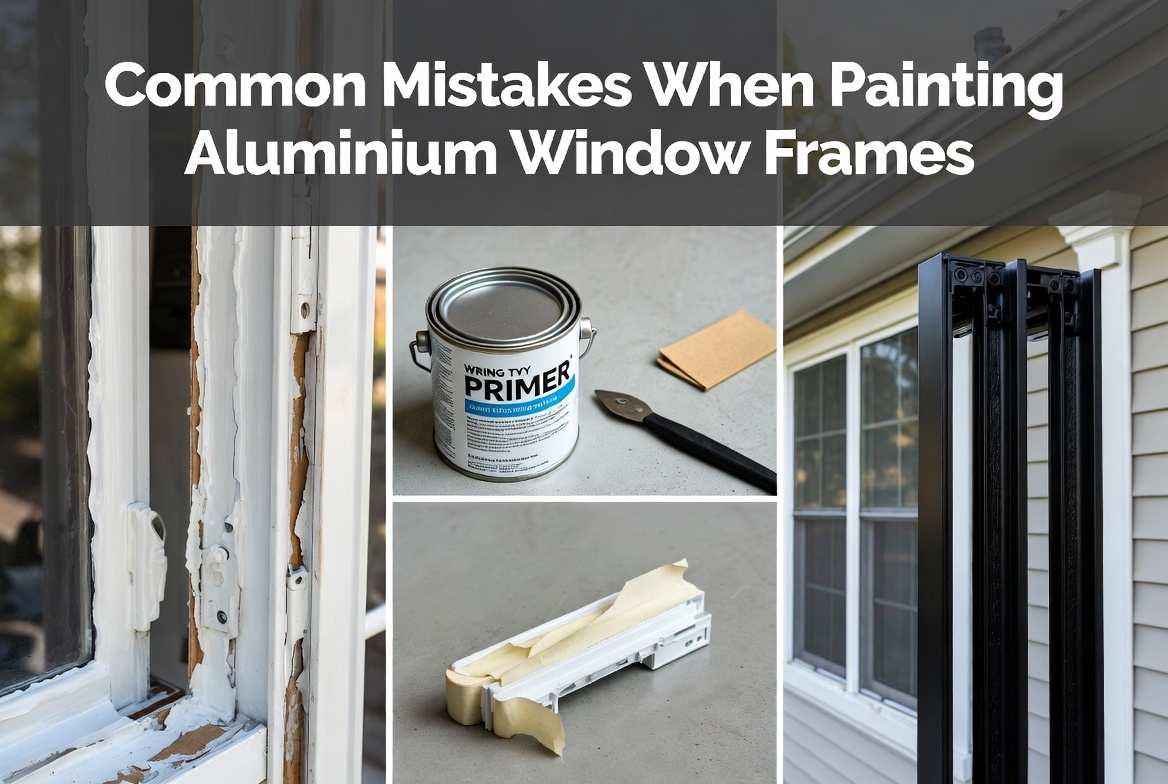
Skipping Sanding or Etching
Aluminium is smooth and non-porous. Without sanding or a chemical etching step, the primer has nothing to bond to and the paint will eventually peel, no matter how good the product is. This is the single most common reason painted aluminium frames fail.
Skipping Sanding or Etching
Aluminium is smooth and non-porous. Without sanding or a chemical etching step, the primer has nothing to bond to and the paint will eventually peel, no matter how good the product is. This is the single most common reason painted aluminium frames fail.
Using the Wrong Primer
A standard wall primer or general-purpose primer does not bond to aluminium the way a self-etching primer does. If you use the wrong primer, the entire paint system above it is compromised. Always use a primer specifically labelled for metal or aluminium surfaces.
Waiting Too Long After Sanding
Aluminium re-oxidises quickly once sanded. The fresh oxide layer that forms is just as smooth and non-porous as the original surface. Apply your primer within 30 to 60 minutes of finishing the sanding. If more time passes, scuff the surface again before priming.
Painting in Poor Conditions
Paint applied in very cold temperatures (below 10 degrees Celsius) dries slowly and unevenly. Paint applied in direct hot sunlight dries too fast, which causes brush marks and poor film formation. Wind carries dust and debris into wet paint. Aim for mild, overcast conditions with temperatures between 10 and 30 degrees Celsius and low humidity.
Applying Paint Too Thick
A thick single coat looks like it is covering well, but it dries slowly, is prone to running, and cures to a softer finish than multiple thin coats. Two or three thin coats always produce a harder, smoother, and longer-lasting result.
Removing Tape Too Late
Painters tape left on after paint has fully hardened can pull the paint edge away from the frame when removed, creating a ragged line. Remove tape while the final coat is still slightly soft.
Poor Masking
Rushing the tape application leads to paint bleed on the glass and rough edge lines. Press the tape firmly along every edge. For spray painting, cover all surrounding surfaces generously because overspray travels further than expected.
Spray Painting vs Brush and Roller
Brush and Roller
A small brush and a short-pile foam roller are the most practical tools for most DIY painters. The brush handles the narrow profile sections and corners of the frame. The roller covers flat faces quickly and gives a smooth finish. This approach uses less paint, is easier to control, and does not require specialist equipment or masking of the entire surrounding area.
Spray Paint (Aerosol)
Aerosol spray paint is fast and gives a very smooth, even finish when used correctly. Hold the can 20 to 30cm from the surface, move steadily without stopping, and apply multiple light passes rather than one heavy one. The main downsides are overspray, which means you need to mask more of the surrounding area thoroughly, and fumes, which require good ventilation and appropriate protective equipment including goggles and gloves.
Spray Gun / Airless Sprayer
A spray gun gives a professional-grade finish and is the choice of most professional painters when painting frames in volume. The setup and cleanup are more involved, and it requires experience to use well. For a single house worth of window frames, most homeowners will find a brush and roller more practical.
Maintenance Tips for Painted Aluminium Window Frames
- Clean gently. Use mild soapy water and a soft cloth for regular cleaning. Avoid abrasive cleaners or scourers that scratch the paint surface.
- Check sealant edges annually. Look at any sealant or caulk where the frame meets the wall or glass. If it is cracking or pulling away, replace it before moisture gets behind the paint.
- Touch up chips early. Small chips are easy to touch up if caught quickly. Left alone, moisture gets into the exposed metal, accelerates oxidation, and the damage spreads.
- Inspect after harsh weather. After storms or very cold winters, check the frames for any lifting, bubbling, or cracking in the paint film.
- Repaint before it fails completely. A light sand and a fresh top coat applied before the paint reaches total failure is much less work than stripping and starting from scratch.
Frequently Asked Questions
Find answers to our professional painting service. Learn about our process, pricing, and project details below.
Yes. Most homeowners paint aluminium frames in place. Mask the glass and surrounding areas carefully, and use a brush and roller for control. Open sliding windows slightly to reach hidden edges.
Yes. Sanding with 150 to 220-grit sandpaper is essential to create surface grip. Without sanding, paint may not adhere properly and can peel over time even with primer.
A self-etching primer followed by 100% exterior acrylic paint is the most common choice. For harsher climates, a two-part epoxy system over etching primer provides extra durability.
With proper preparation and quality materials, painted aluminium window frames can last around 8 to 10 years outdoors. Interior frames may last even longer due to less exposure.
Remove all loose paint, sand the surface smooth, and clean it thoroughly. Apply a self-etching primer, then repaint with thin, even coats of suitable metal paint for a durable finish.

Marcus Langley
Lead Color Consultant & Senior Painter
Marcus Langley is a certified painter and color consultant with 14 years of experience transforming homes and businesses across Melbourne. He specializes in interior work, exterior coatings, and decorative finishes, and loves helping homeowners find the perfect color for every space.